I have a PD10 Pro Dome that is air-conditioned and houses a Meade 16″ LX200 telescope. I use N.I.N.A. to control all the software related to imaging that includes ASCOM drivers for all the equipment. PHD2 is used to guide the exposure and The Sky X for planning and alternate pointing of the scope.
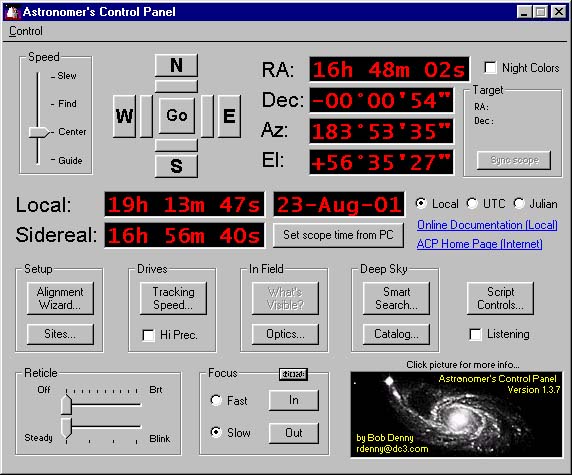
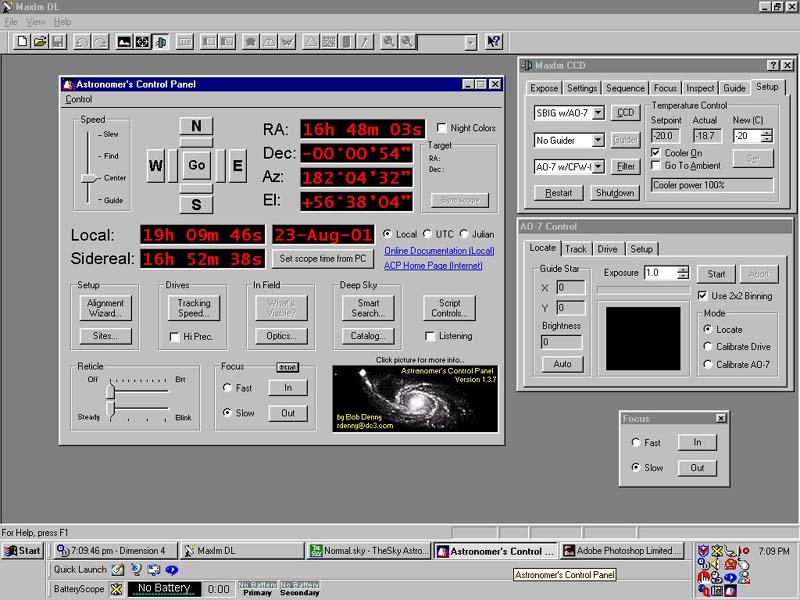
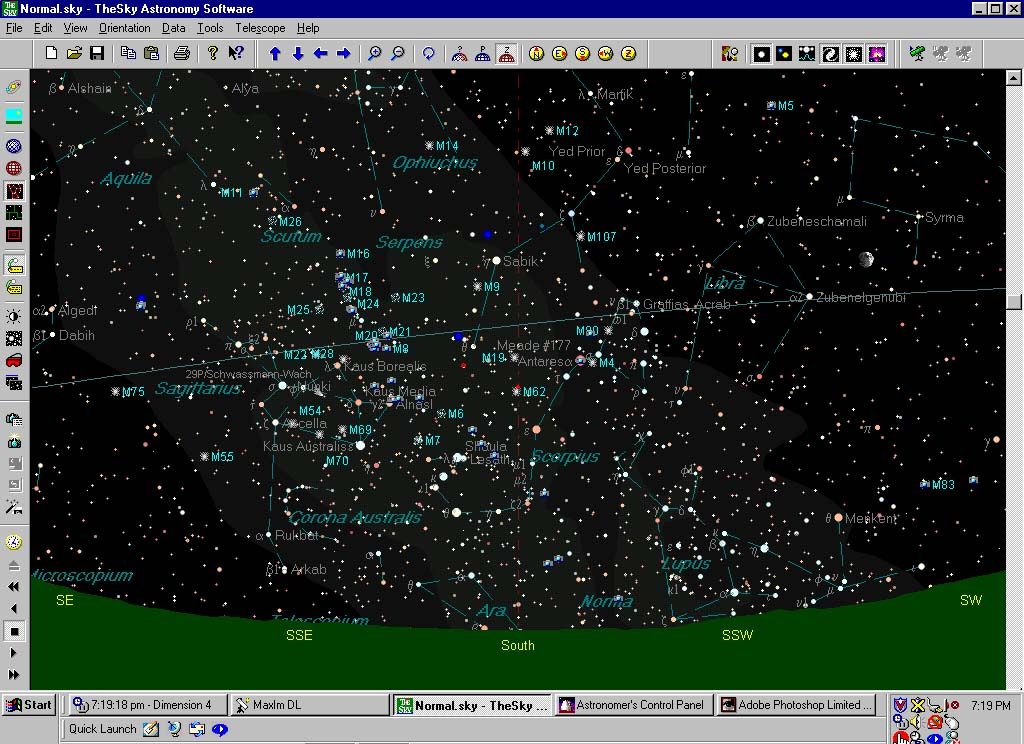
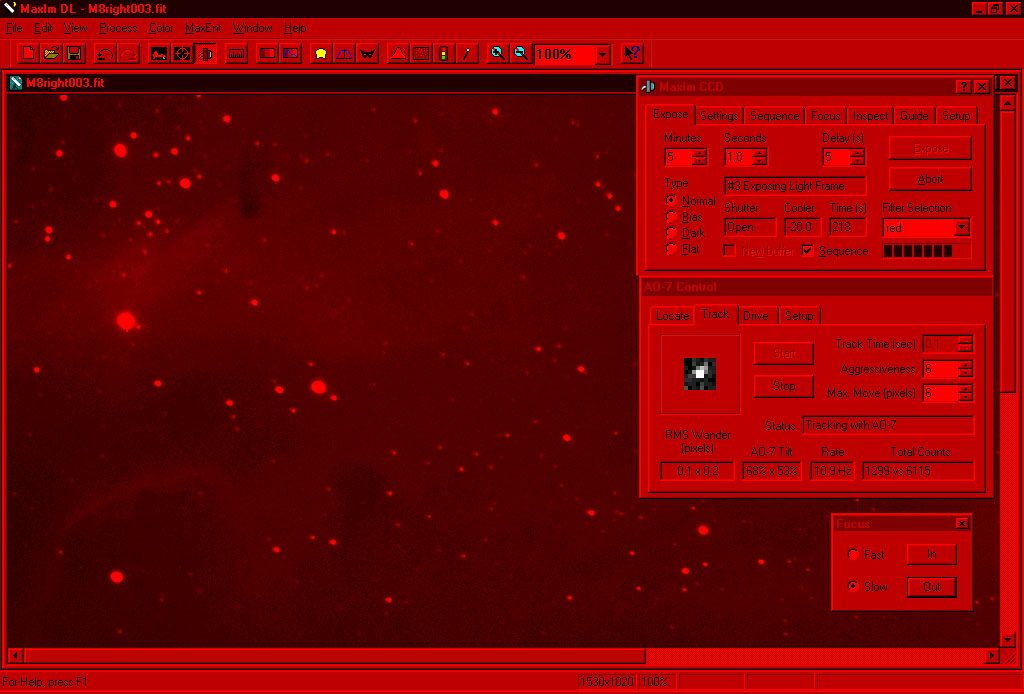
Below is my old setup back in 2001 prior to having a dome.
I live in a very hot location (Phoenix), so It would be difficult to leave the equipment out in the day time (100 deg.+) summer temperature, although an air conditioned dome would be ideal. But for the time being I drag all the telescope equipment out and setup for imaging (about 20 minutes) and back in at the end of the session. In the winter, weather permitting I leave the scope outside during dark nights and cover the scope with a Desert Storm Cover. I have marked the patio with a polar aligned tripod position. The tripod is left setup even when I bring it back in so not to lose polar settings. I will describe how I setup and image in the following.
Setup
1. Tripod is setup on patio that is marked with a previously polar aligned position and checked for level (bubble in circle).
2. Scope is mounted and cables attached. Dew shield is mounted.
3. CCD camera is attached with all cables inserted (SBIG ST8E/CFW8/AO-7). Bucket with distilled water is placed near scope, hoses connected, pump turned on and leak check performed on ST8E camera inlet and outlet.
4. Scope balance is checked. I normally attach the two large Meade weights to the front part of the rail.
5. I used to set up my laptop outside by the scope. I got baked by the heat and bitten by the mosquitoes in the summer and froze in the winter, then I figured there must be a better way. Now a 50′ parallel cable is run from the CCD camera to the control room (family room) along with a 50′ 6 line phone cable from the scope so with the help of Astronomer’s Control Panel I can remotely operate the scope for centering the target on the chip and focus with the Meade focuser.

| I also use the JMI NGF-S Focuser , but some pointing angles of the scope restrict its use with all my accessories in the optical train. Bear in mind, the longer the optical train, the more flexure and vignetting problems. I am always at the scope for slewing with the keypad. ACP would slew fine except I have too many cables, cameras, etc. and need to watch movement of all components. For extending the JMI DRO cable I had to flip one modular plug at the end of a standard 50′ 6 line phone cable. The small black cable it comes with is configured the same. A Crimping tool was bought at Home Depot. It comes in handy when plugs break as well. 6. ST8E is powered up, then second stage cooler is powered. Scope is powered. 7. I then go in and startup the computer and turn on Maxim CCD/DL and switch to red vision, connect to the ST8E and go for a set point of -20c. |

8. I then bring up ACP and connect. Click on set scope to PC time. Then I select float focuser to have it readily available.
9.Next I turn on The Sky.

My field of view is set exactly to the camera setup above which you will need if you are going to find guide stars. I did this through CCD Soft through the auto-astrometry button and linked to an image I took and resized the box until it was exact. I also bring up the bottom windows bar so all programs can be seen since you will rotate through the session.
10. Back at the scope I do a one star alignment in the polar mode. Before I sync the star I return to the computer and if the camera is stabilized take a 1 second 3×3 image on the focus page. I use a Kendrick Quick Focus 3 hole mask and start focusing with ACP. Once focused I center the star on the chip with ACP. Then I go back to the scope and sync on the star. Now it is time to re-collimate the finder scopes to match the centered star on the chip. Select HP pointing, slew rate of 2 so when you move the scope focus movement is kept to a minimum. At this point I go to another alignment star and sync again. This always gives better accuracy for slewing.
11. Had enough yet? We are only beginning. Now it is time to move to your target that you should have already pre-planned prior to all this. I do it in The Sky and check the FOV and guide star I plan to use which may require turning the camera 90 or 180 degrees.
12. OK, we have arrived at the target and centered it. Time to pull off the dew shield and put on the 3 hole mask and re-focus. I try and get below 2.0 FWHM for focus. Around 1.5 is excellent. I focus out (clockwise) first, tap the scope to seat anything that is loose and then back in (counter clockwise) to load the mirror. Go to the focus tab in Maxim and start with 3×3, then 2×2 and finally 1×1. Subframe in 1×1 mode so the download is shorter. Don’t forget to remove the mask and replace the dew shield. FWHM should now drop further. Normally this will get you through one target of LRGB frames. All bets off after the scope is moved to the next target or if you have a rapidly dropping temp. Did I say this was easy?
13. If you don’t have a dark frame now would be a good time to take it.
14. Time to get the guide star centered on the guide chip. In The Sky program I select pole north which is the SBIG series camera position with cables down and guide box on top. This also keeps the target from moving out of the FOV. Depending on where the guide star is located, the rotate tool is used in The Sky program and camera is turned to match angle. Of course now we have to re-calibrate the mount with Maxim. Keep in mind that in Maxim the guide box is reversed when using the AO-7. The image however, can be reversed by clicking the settings tab in Maxim and in options check the flip images horizontally box. Doing this will correctly orientate the image with reference to The Sky. The brighter the guide star the better, with the AO-7 I need at least a 10th magnitude star if color is involved, closer and brighter the better. Once you get calibrated and start guiding recheck that the target is still where you want it. For the AO-7 I try and keep the guide star centered and look for around 50% x 50% movement in the AO-7 Tilt box or oval star patterns appear. Medium guide box is most often used. I set aggressiveness at 6. Guide star exposure time can vary depending on star brightness and seeing conditions. For good guiding of .1 to .3 RMS pixel movement a 1 or 2 second guide star exposure seem to work well. If you can locate a 6th magnitude star the AO-7 can guide 10 times per second ( a .1 exposure). Invariably to get the image composition that you want compromises have to be made with regard to the guide star magnitude.
Imaging
15. Let’s take an image.

I usually try to image a target near the eastside of the zenith for better signal to noise ratio. The brightest part of the sky for me is in the west toward the central hub (Phoenix). Except for planets I normally go at least 5 minutes per exposure and try to take 4 luminance exposures. For galaxies an hour or more can be involved. 5 minute exposures are a good compromise from urban skies. Good signal to noise ratio is what we are looking for.
16. Now for color. Red sometimes can be used for the luminance as well. I used to bin 3×3 for better color saturation, but now have decided to stick to un binned 1×1 for better resolution. So at least 10 minutes of red, green and 20 minutes of blue.
17. When I am satisfied with my exposures it is time to disconnect guiding and aim the scope toward the porch light. I attach the white sign plastic flat field cover in front of the dew shield and take three 9 second flats for the luminance exposure. It is also advisable to take RGB flats as well which are around 20 seconds each.
18. Time for the next image. Move scope to the target and start above procedure over beginning with focus that is surely off by now.
19. At the crack of dawn or when you can’t stay awake any longer, warm up the camera, disassemble the equipment, bring it all back in, have a glass of wine and go to sleep.
20. After you wake up and if it is your day off, fire up the computer and see what was caught. I get some coffee in and start by calibrating (dark frame and flat field subtraction) and combining the images in Maxim, then save as a 8 bit stretched tiff file and move to Photoshop for final processing. Sometimes I will run the luminance image through SBIG’s CCD Sharp . Also DDP in Maxim is great for bringing out detail. After all this the image is made into a jpeg and saved.
21. Image is now loaded into my web in Word Press, then uploaded to this website.
.